
Installing an 8-inch lawn mower motor correctly is crucial for ensuring the efficient operation and longevity of your equipment. However, many users often make mistakes during the installation process, which can lead to various problems. Let's first take a look at some common errors and their consequences.
One of the most frequent mistakes is improper fixation. If the motor is not firmly fixed, it can cause vibrations during operation, which not only affects the performance of the lawn mower but also shortens the lifespan of the motor. Another common issue is grass clippings getting wrapped around the motor, which can lead to overheating and reduced efficiency.
Now, let's understand the core parameters of the 8-inch lawn mower motor. It is designed to fit a 200mm diameter and 45mm tire width. These parameters are not randomly set; they are carefully calibrated to ensure the optimal performance of the lawn mower. The 200mm diameter provides a stable base for the motor, while the 45mm tire width offers good traction on different terrains.
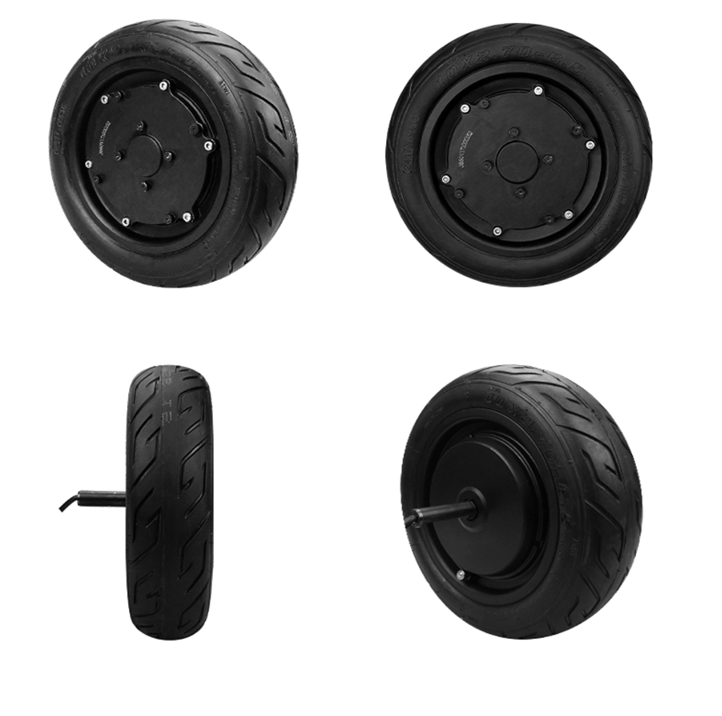
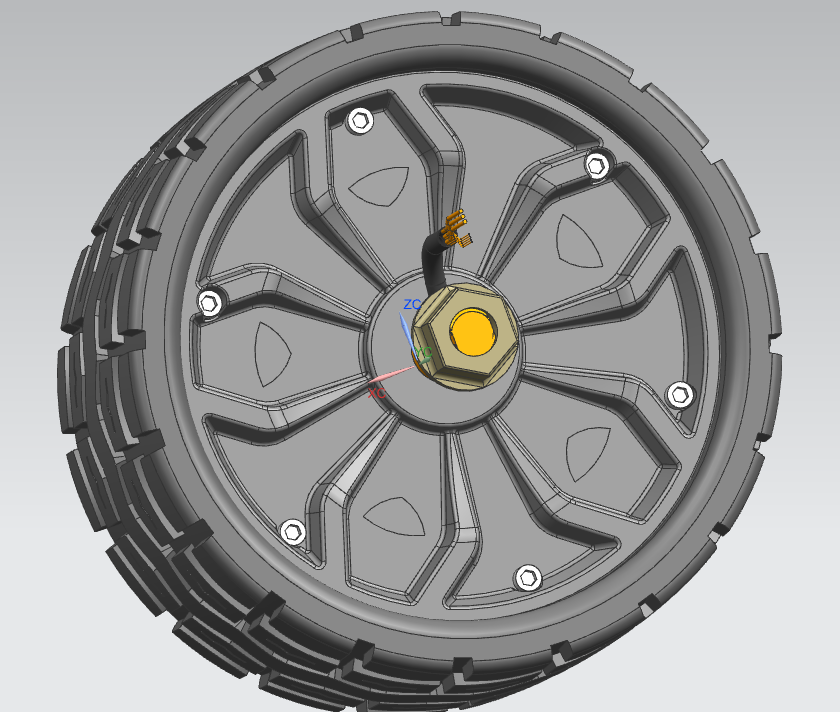
The single-side pressing shaft structure plays a vital role in maintaining the balance and anti-vibration ability of the lawn mower. It evenly distributes the pressure on the motor, reducing the risk of uneven wear and tear. This structure also enhances the stability of the motor during operation, especially when dealing with complex terrains.
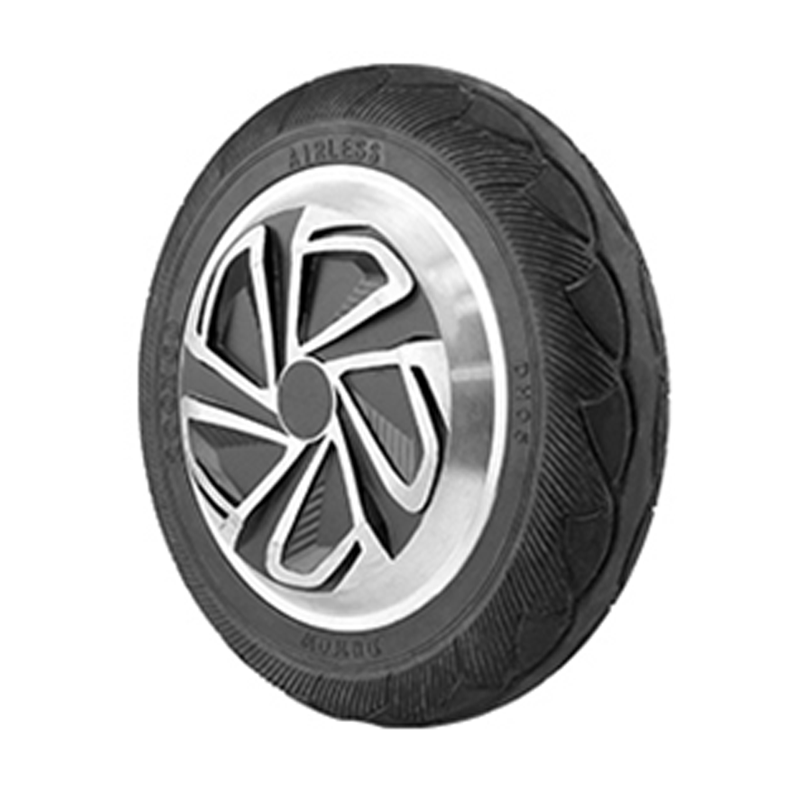
The cyclone design of the motor is a remarkable innovation. It not only optimizes heat dissipation but also effectively separates grass clippings from the motor. The cyclone effect creates a powerful airflow that draws in air from the outside and expels hot air and grass clippings from the inside. This mechanism ensures that the motor stays cool and free from grass clippings, improving its efficiency and lifespan.
Before you start the installation, make sure you have all the necessary tools, such as a wrench, screwdriver, and pliers. Here are the detailed installation steps:
| Step | Action |
|---|---|
| 1 | Tighten the front bolts slightly |
| 2 | Tighten the rear bolts slightly |
| 3 | Tighten all bolts evenly to the specified torque |
After installation, perform a thorough check to ensure everything is properly installed. Check the alignment, tightness of the bolts, and the connection of the wires.
Regular maintenance is essential for keeping your lawn mower in top condition. Here are some daily maintenance tips:
Different seasons require different maintenance strategies. In the rainy season, pay special attention to preventing corrosion. You can apply a protective coating to the metal parts of the lawn mower to prevent rust. During the hot summer months, focus on heat dissipation. Make sure the ventilation holes of the motor are not blocked and keep the motor in a well-ventilated area.
Engineer's Reminder: There are 5 easily overlooked installation details. For example, make sure the wiring is properly connected and there are no loose connections. Also, pay attention to the high-frequency areas where grass clippings accumulate and clean them regularly.
By following this comprehensive guide, you can install your 8-inch lawn mower motor correctly and avoid common mistakes. This will not only improve the performance of your lawn mower but also extend its lifespan. Say goodbye to frequent repairs and enjoy a powerful and reliable lawn mower for years to come!


.png?x-oss-process=image/resize,h_800,m_lfit/format,webp)


