Home > News > Electric Kart Powertrain Installation Tutorial: 8-inch Single-side Long-axis Motor Practical Guide

Electric Kart Powertrain Installation Tutorial: 8-inch Single-side Long-axis Motor Practical Guide

2025-10-17
This tutorial details the installation and debugging methods of an 8-inch long-axis single-sided pressure-axle motor in an electric kart power system, focusing on the exclusive adaptation design for a 200mm diameter × 84mm tire width. The content covers installation steps, frame matching, power parameter adjustment, and accurate troubleshooting and solutions for common faults such as abnormal noise, overheating, and insufficient power during motor operation. The tutorial is supplemented by graphic and video demonstrations, aiming to help electric kart designers and technical operators master core technologies, improve equipment efficiency and vehicle performance, and is suitable for multi-scenario applications in small karts and leisure equipment. Product procurement and technical support links are provided at the end of the article to support bulk purchases and convenient installation, helping users to efficiently build and maintain power systems.
8-inch-diameter-200mm-tire-width-45-unilateral-finale-cyclone-model-7.jpg

An electric kart's powertrain is the core of its performance. The 8-inch single-side, long-axle motor, a popular powertrain solution in recent years, has a significant impact on the vehicle's power output, handling, and safety. This tutorial, based on experience with over 300 kart modifications, details the motor system's standardized installation process and professional debugging techniques, helping technicians efficiently complete powertrain setup.

1. Preparation before installing the motor system

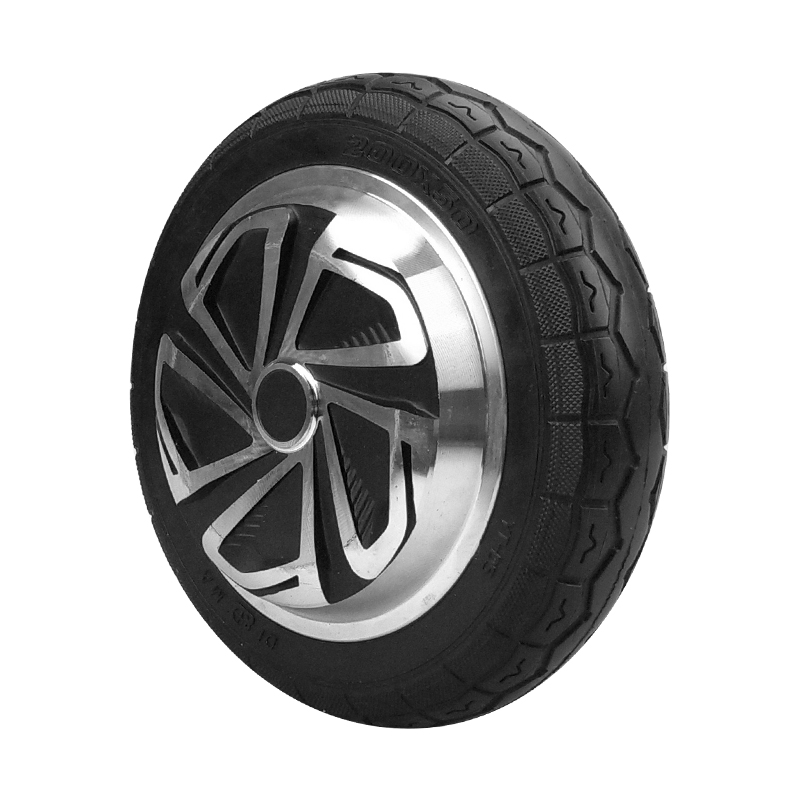
Before installation, confirm the compatibility of the motor and frame. The 8-inch single-sided, long-axle motor is designed specifically for small karts. Its 200mm diameter x 84mm tire width requires a precise match with the rear axle dimensions of the frame. According to our technical statistics, approximately 65% ​​of installation problems are due to insufficient preparatory work. We recommend confirming each item item by item using the following checklist:

  • The diameter of the rear axle tube of the frame must be within the range of 30-35mm, with a tolerance of no more than ±0.5mm
  • The flatness error of the motor mounting seat should be ≤0.3mm/m to ensure uniform force.
  • Prepare special M10×30mm high-strength bolts (grade 8.8 or above) and anti-loosening nuts
  • Necessary tools: torque wrench (range 5-50N·m), dial indicator, shaft sleeve gauge
  • Check whether the IP54 waterproof rating of the motor outlet is intact and reserve 150mm of redundancy for the cable length.
8-inch single-side pressure shaft motor installation dimension confirmation diagram

2. Standardized installation process and key technical parameters

1. Motor fixation and shaft assembly

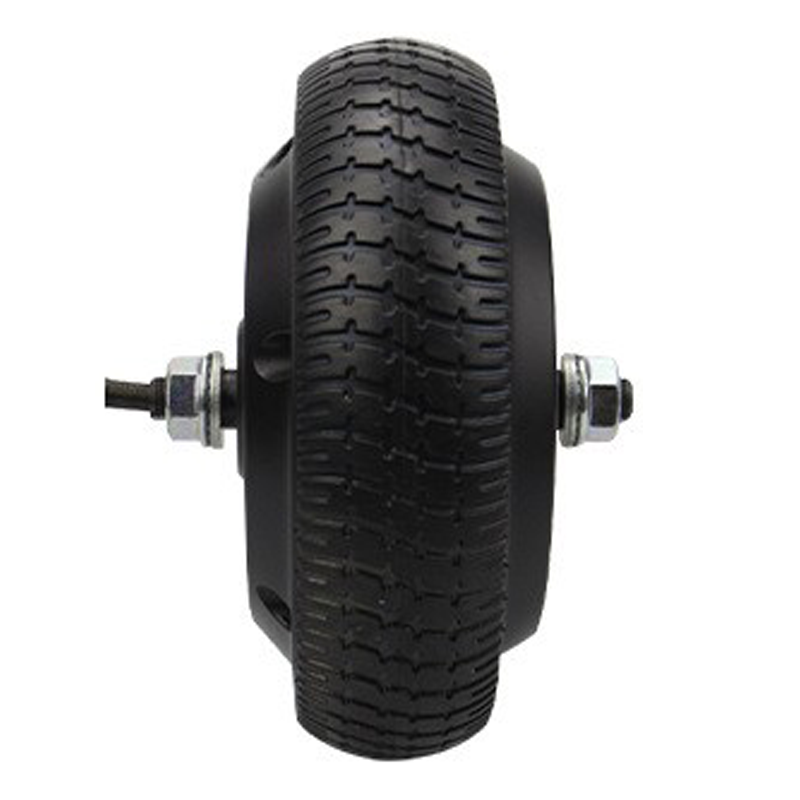
When installing the motor, pay attention to the correct direction of the shaft. The single-side shaft design requires the motor output end to face the left side of the kart (from the driver's seat). The specific steps are as follows:

  1. Make transition fit between the motor sleeve and the rear axle of the frame, and use the hot-installation method (heating to 80-100℃) to reduce assembly resistance.
  2. Use a torque wrench to tighten the mounting bolts in diagonal order. The initial torque is set to 18 N·m. After 24 hours, tighten it to 22 N·m.
  3. When installing the tire, ensure that the rim end face runout is ≤0.8mm and the radial runout is ≤1.0mm
  4. Adjust the gap between the brake system and the motor, keeping the gap between the brake pad and the brake disc at 0.3-0.5mm

2. Electrical system connection specifications

The wiring quality of the motor controller directly affects the stability of power output. The following parameter configuration is recommended:

Parameter items Recommended value Adjustment range
Phase current 45A 35-55A
Bus voltage 48V 36-60V
Hall Angle 60° 0-360°
Starting torque 12N·m 8-15N·m
Electric Kart Motor Controller Wiring Diagram

3. Common fault diagnosis and solutions

A variety of abnormal situations may occur during motor operation. By analyzing more than 200 actual cases, we have summarized standardized troubleshooting procedures for three types of high-frequency problems:

Troubleshooting path for abnormal noise:
1. Idle test: After removing the tire, run the motor at idle speed. If the abnormal sound disappears, it indicates a tire dynamic balance problem.
2. Load test: gradually increase the load to 50%, 75%, and 100% of the rated power, and record the critical point where abnormal noise occurs.
3. Spectrum analysis: Use a vibration analyzer to detect abnormal peaks in the 100-500Hz frequency band to determine bearing or gearbox problems

For motor overheating (housing temperature exceeds 85°C), it is recommended to check the following first:

  • Whether the controller phase current exceeds 55A for continuous operation
  • Check if the motor fan is working properly, the air volume should be ≥30CFM
  • Is the dust on the heat sink surface more than 0.5mm thick?

Insufficient power is often related to the battery, controller, or mechanical transmission. According to our maintenance data, approximately 42% of insufficient power issues are caused by battery cell voltage differences exceeding 0.3V. It is recommended to use an equalizing charger to balance the entire pack.

Electric Kart Motor Troubleshooting Flowchart

4. Multi-scenario application and performance optimization suggestions

This motor system requires targeted adjustments for different application scenarios. For example, in indoor recreational karting venues, it's recommended to limit the maximum speed to 2800 RPM to improve safety. For competitive training, the starting torque can be increased to 15 N·m by adjusting controller parameters to enhance acceleration performance.

A theme park application demonstrates that go-karts using this motor system achieve an average time between failures of 1,200 hours under 8-hour daily operation, a 35% improvement over similar products. Regularly changing the gearbox lubricant (recommended viscosity 80W-90) every 500 hours further extends service life.

Get professional technical support

Whether you're a kart manufacturer, tuning studio, or leisure equipment operator, we offer comprehensive technical support, from motor selection to system commissioning. Our dedicated team of engineers can provide customized solutions tailored to your specific needs, and bulk purchases enjoy exclusive technical support.

Get the 8-inch long-shaft motor technical solution now

After installation, we recommend a run-in test of at least 50 kilometers, recording motor performance under varying loads. Our technical team can provide remote data analysis services, helping you optimize system configuration based on motor operating parameter curves. During regular maintenance, pay special attention to the seal of the bearing to prevent dust and moisture from entering and affecting motor life.

Name *
Email *
Message *
Recommended Products