Diagnosing and Resolving Motor Noise, Overheating, and Power Shortfalls in 8-Inch Long-Shaft Motors for Electric Go-Karts
2025-10-21
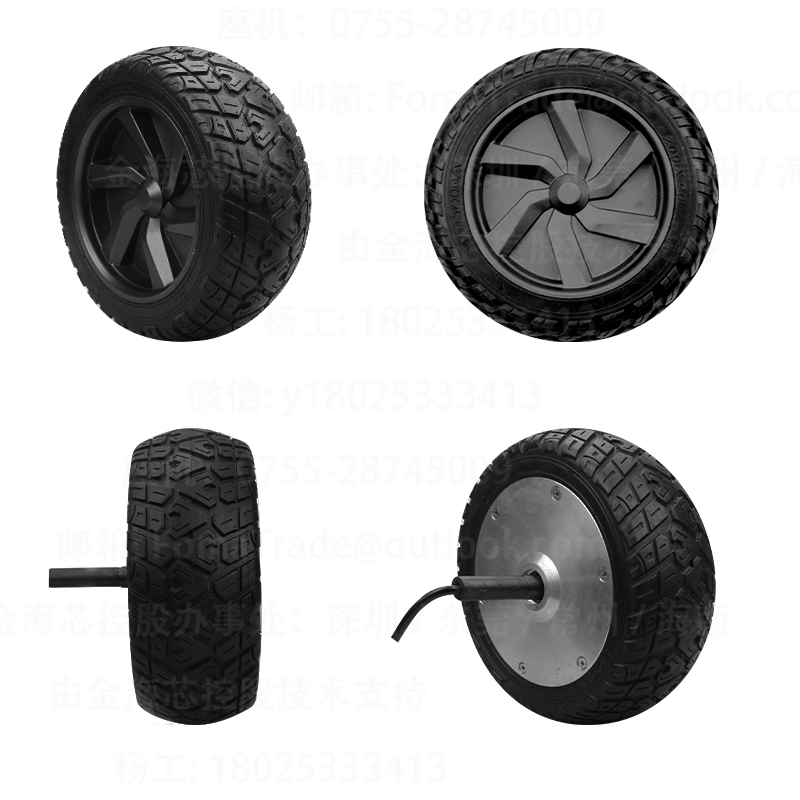
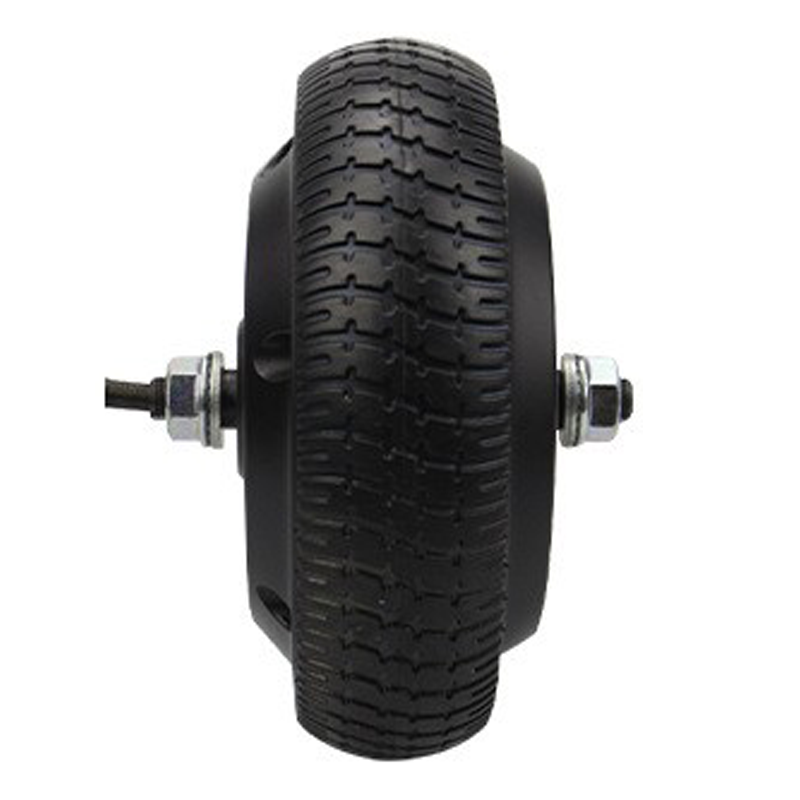
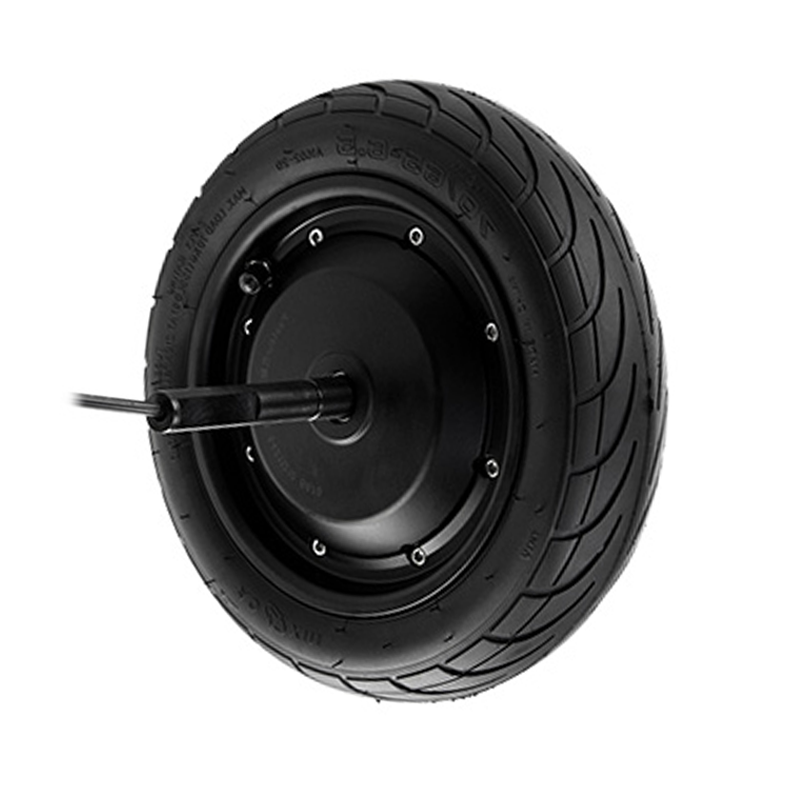
You face three core issues when using 8-inch long-shaft motor kits in electric go-karts and compact leisure devices: abnormal motor noise, overheating, and reduced power. This article provides a disciplined, practical framework to pinpoint root causes and achieve stable, efficient performance. Starting from installation and mechanical fit, through cooling design and control parameters, you will follow a complete fault-diagnosis workflow, illustrated with an information-graphic flowchart and expert tips. We examine how bearing preload, shaft runout, and bearing seating affect noise; how cooling paths, heatsinks, and airflow determine heat management; and how controller mapping, current limits, and throttle linearity influence power delivery. You will also learn how mis-match in belt-pulley fit, tire width, and single-side axle design impact stability and friction, with real-user case studies clarifying common pitfalls (for example, ignoring tire width that leads to rubbing). The guide blends installation cautions with tuning techniques to balance speed and endurance, and shows how small adjustments can yield meaningful gains in propulsion reliability. A practical troubleshooting checklist accompanies a flowchart for rapid diagnosis, and a side box with engineering expert quotes offers actionable recommendations. For a complete setup and debugging reference, you can download the installation video and technical-support documents here: https://example.com/debug/manual.
Motor Noise, Overheating, and Power Loss: Troubleshooting and Solutions for 8-Inch Long-Shaft Motor Kits
If you are using an 8-inch long-shaft motor kit in an electric go-kart or a compact recreational device, you are likely to encounter three recurring issues: unusual motor noise, overheating, and diminished power output. This guide provides a practical, step-by-step approach to diagnose and resolve these problems, with actionable tips you can apply during installation, tuning, and routine maintenance. You will learn how to interpret symptoms, verify mechanical fit, optimize cooling, and align controller settings to achieve a balanced speed and endurance profile for your on-track performance.
1) Unusual Noise: Causes and Step-by-Step Diagnosis
Noise from the motor is not always alarming, but persistent rattling, grinding, or whining often signals an underlying fault. In the 8-inch long-shaft motor kit, the most common culprits fall into four categories: preload on bearings, misalignment, shaft runout, and coupling or mount resonances.
Bearings preload and fit: Inadequate preload can produce axial play that translates into audible vibration at certain RPM ranges. Target preload is typically in the 0.01–0.04 mm range depending on bearing size and seal tension; confirm with the manufacturer’s spec sheet and set using shim stacks or spacers if applicable.
Axial and radial misalignment: Misalignment between the motor shaft, coupling, and driven load can create periodic noise and accelerated wear. Check the coupling runout with a dial indicator and ensure concentric alignment within 0.05 mm tolerance.
Shaft runout and balance: If the shaft is bent or the rotor balance is off, you may hear cyclical noise at characteristic frequencies. Inspect the shaft for bend, and verify rotor balance using a simple dynamic runout check on a rigid test stand.
Mounting resonance: Rigid mounting with soft interfaces (grommets, dampers) helps reduce high-frequency resonance. Ensure fasteners are torqued to spec and damping materials are placed at appropriate contact points.
Practical steps you can take:
Isolate the source: disconnect the drive source and rotate the rotor by hand to feel for binding, roughness, or binding at specific angles.
Check preload and spacers: re-torque mounting hardware to the recommended values and verify any shims used for bearing preload.
Inspect couplings: confirm the coupling is properly seated, aligned, and free of play; replace if damaged.
Test with damping: add or adjust rubber dampers or compliant mounts to reduce high-frequency noise without compromising rigidity.
Expert tip: In many cases, noise can be a sign of subtle misalignment that worsens under load. Confirm alignment under load conditions with the full drive train engaged, not just in idle. A small axial misalignment often becomes audible only when torque is transmitted.
2) Overheating: Causes and Step-by-Step Diagnosis
Overheating not only reduces performance but also accelerates wear. In the long-shaft motor kit, common overheating sources include insufficient cooling path design, restricted airflow, unsealed or blocked vents, and controller or load conditions that drive continuous high current.
Cooling path integrity: Confirm that intake and exhaust paths are unobstructed and that vent screens are clean. Even small debris can choke airflow and raise operating temperature by 10–20°C under peak load.
Heat transfer components: Ensure heat sink fins are clean, free of oil or dust, and properly attached to the motor housing. A loose heatsink can dramatically reduce surface contact and cooling efficiency.
Airflow management: If your cart design restricts air movement, consider repositioning the motor or adding a micro-fan solution to augment cooling during short, high-load bursts.
Electrical load and controller tuning: A controller applying throttle aggressively or a mismatched motor ratio can drive current beyond the motor’s cooling capacity. Check motor current limits and verify controller parameter setpoints against the motor’s thermal rating.
Action steps you can implement:
Measure case temperature after a controlled test ride; look for sustained temperature above 85–90°C for prolonged periods (adjust per your motor spec).
Clean and verify cooling paths; enlarge gaps where possible to boost natural convection without compromising protection.
Revisit gearing or load profile to reduce peak current; consider softening throttle ramp to avoid sudden torque spikes.
Validate wiring: ensure there are no loose or oxidized connections that can cause resistance heating at high current.
Expert tip: A holistic view matters. Overheating is often the result of a combination of restricted cooling and increased electrical load, not a single fault. Use a thermal camera or handheld thermometer to identify hot spots across the motor housing and controller region.
3) Power Loss: Causes and Step-by-Step Diagnosis
A loss of power in the electric go-kart drive train can feel like a throttle that refuses to respond or a motor that cannot reach expected RPMs. In our long-shaft kit, power loss often stems from mismatched controller settings, wiring integrity issues, or an efficiency drop caused by mechanical friction.
Controller-motor mismatch: Ensure the motor’s rated voltage, current limit, and acceleration profile align with the controller’s output range and the battery’s capability.
Wiring and connectors: Inspect all high-current connections for loosening, corrosion, or damage; a small resistance increase can halve the effective torque at peak RPM.
Drive train friction: Examine belt/pulley wear, couplings, and bearing friction that can rob power, especially under load.
Battery and voltage sag: Monitor the voltage under load. A sag of more than 0.5–1.0 V under peak torque can indicate aging cells or poor connections that limit available current.
Practical remediation steps:
Reconfigure controller settings to match motor rating and battery capacity; set a smooth ramp and prevent sudden full-throttle application, especially on hot days.
Inspect and re-crimp or replace high-current connectors; clean any oxidation on power paths.
Test drive with a known-good battery to isolate sag versus controller or motor faults.
Evaluate mechanical drag; lubricate bearings and verify that belts and pulleys are aligned and tensioned properly.
Expert tip: If you suspect controller-motor mismatch, benchmark against a known-good configuration and compare performance curves. A small discrepancy in torque response can reveal a tune error that hides under normal idle testing.
Fault Diagnosis Flowchart
The following visualization outlines a practical, at-a-glance flow for rapid fault isolation. It is designed to be followed in your workshop or on-site to identify the root cause quickly and proceed with targeted fixes.
Technical guidance: For best results, document each test, noting environmental conditions, temperatures, and controller settings. Building a short runbook will help you reproduce fixes consistently and reduce bench-to-track variability.
Installation and Tuning: Practical Tips to Balance Speed and Endurance
Once you have identified the root cause, you can implement targeted changes that improve both performance and reliability. The following tips focus on aligning the motor, controller, and cooling system to deliver a dependable experience on track.
Alignment and mounting: Use a rigid, well-aligned motor mount with minimal runout; verify that the shaft axis coincides with the driven pulley axis to reduce side load on bearings.
Cooling optimization: Prioritize unobstructed airflow and sufficient heat dissipation; add a lightweight fan if the design allows, especially for extended high-velocity runs.
Controller tuning: Start with conservative current limits and gradual throttle ramps; log peak currents during testing to avoid thermal throttling that reduces both power and endurance.
Preventive maintenance cadence: Schedule quarterly checks for bearings, seals, and mounting hardware; clean vents and inspect heatsink contact to maintain optimal thermal performance.
For ongoing reliability, you should align the long-shaft motor kit’s installation with the single-side eccentric shaft guidance that helps maintain stable dynamic balance under load. This approach minimizes uneven wear and contributes to smoother acceleration curves.
Note on value: A balanced setup not only enhances track performance but also extends component life. By systematically tuning preload, alignment, and cooling, you can realize a measurable gain in consistent lap times over a season.
If you want to put this into action with minimal guesswork, you can access comprehensive installation and debugging resources tailored to the 8-inch long-shaft motor kit, including a practical troubleshooting handbook and a calibration workbook.
Immediate access to the complete debugging manual and tuning templates will help you move from symptom-driven fixes to a proven maintenance routine that supports reliable performance on every ride.
You can also request a quick consult to tailor the flow to your specific configuration, ensuring the long-shaft motor kit meets your cart’s load profile and racing goals.