
Are you still struggling with complex, loose camping motor installations that waste your time and compromise safety? You’re not alone. Traditional methods often demand tools and hours of fiddling, leading to frustration and unreliable setups. This guide unveils how the innovative 76mm opening combined with a dual-thread axle design enables you—whether a DIY rookie or a seasoned camper—to securely mount your 6.5-inch compact camping motor in under 5 minutes without any tools. Say goodbye to the headaches of wiring and imperfect fittings; say hello to efficient, dependable camping adventures.
What sets this camping motor apart is its engineering tailored for rapid and universal adaptability. The 76mm opening allows the motor to fit snugly on a variety of chassis profiles, while the dual-thread axle—one threaded clockwise and the other counterclockwise—ensures both sides tighten together symmetrically. This tool-free, double-sided tightening guarantees stable locking without uneven stress or gradual loosening during your trip.
| Step | Action | Key Points to Monitor |
|---|---|---|
| 1 | Align the axle holes with the motor mount brackets on your vehicle chassis. | Ensure the 76mm opening fully fits without forcing; avoid any gaps. |
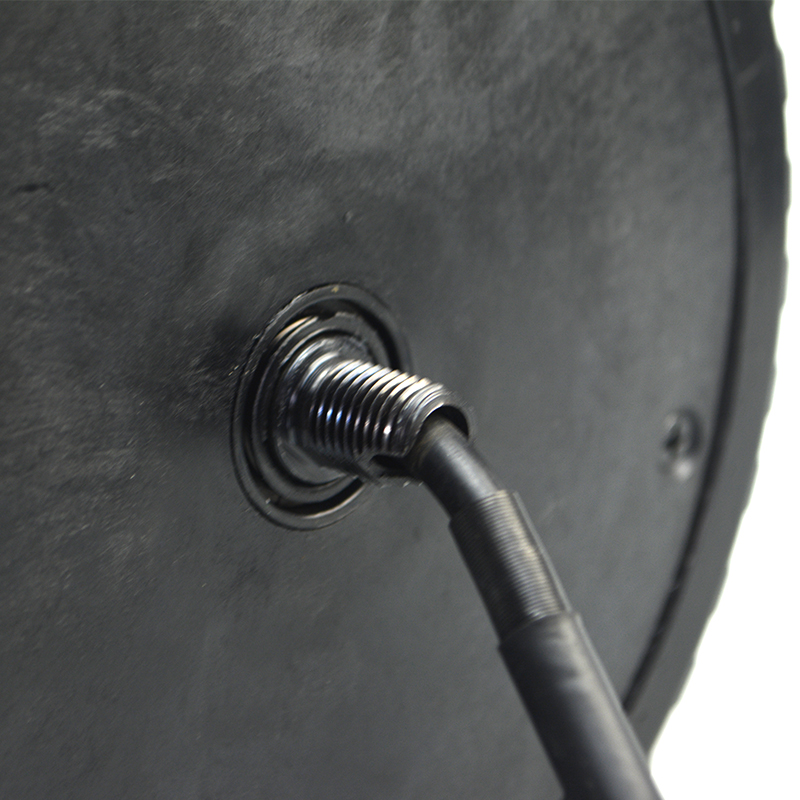
| 2 | Insert the dual-thread axle through the aligned holes. | Check that threads engage smoothly on both sides before tightening. |
| 3 | Use your hands to tighten both ends simultaneously with symmetric force. | Avoid single-sided force to prevent shaft skew and loosening. |
| 4 | Place the protective gasket pads (included) between motor and chassis. | This reduces vibration and enhances a firm hold. |
| 5 | Give a final double-check for any play or misalignment. | The assembly should feel rock-solid, with no wiggle under moderate pressure. |
Following these simple steps, you can reliably lock your camping motor in place with no tools and minimal effort, typically within 5 minutes. It’s a game-changer for fast, confident setup before hitting the road.
Despite the easy design, a few traps can undermine your installation:
Your camping vehicle’s chassis shape and available mounting space are crucial to a seamless fit. Here’s how to verify compatibility:
If your space is limited, consider minor bracket modifications or installing slim spacer bars to optimize fit without affecting vehicle integrity.
Although this installation requires no special tools, prepping these accessories can enhance your experience and ensure longevity:
Got questions or unique vehicle requirements? Drop your comments below, and our expert team will guide you to a flawless installation setup!


.png?x-oss-process=image/resize,m_fill,h_800,w_800/format,webp)