Quick and Secure Camping Motor Installation Using Split-Opening Design and Double-Threaded Shaft
This guide explains how the innovative split-opening structure combined with a double-threaded shaft enables fast and stable installation of motors on electric camping vehicles. Addressing challenges of traditional complex and unstable motor mounting, it breaks down the 76mm split-opening mechanism and dual-thread shaft functionality. Step-by-step illustrated instructions demonstrate a 5-minute quick install, highlighting crucial pre-installation checks and common pitfalls to avoid. Additionally, it provides tips for adapting to various camping vehicle chassis configurations, enhancing compatibility assessment for different models. Designed for camping enthusiasts seeking simple, reliable, and safe motor installation solutions, this tutorial improves DIY efficiency and security.

Camping Motor Installation Guide: Mastering the Quick and Secure Mount with Open-Segment Design
Installing a motor for electric camping vehicles has traditionally involved cumbersome steps and unstable fixes, deterring many outdoor enthusiasts from DIY upgrades. This guide unveils an innovative approach leveraging a 76mm open-segment (open-diameter) structure coupled with a double-sided threaded shaft — engineered specifically for camping scenarios — to streamline installation. Its design promises a swift, secure mount within five minutes, elevating both ease and safety for users of diverse vehicle models.
Addressing Common Installation Challenges
Conventional motors often require complex tools and precise alignment, often leaving users with loose mounts that jeopardize both motor performance and vehicle safety. The resulting hassle not only increases installation time but may risk damage during rugged camping excursions. The open-segment structural design overcomes these pain points by enabling quick access and fine adjustment through the double-sided threaded shaft, which ensures robust fixing without the need for excessive tooling or expertise.
Understanding the Open-Segment & Double-Sided Threaded Shaft Mechanism
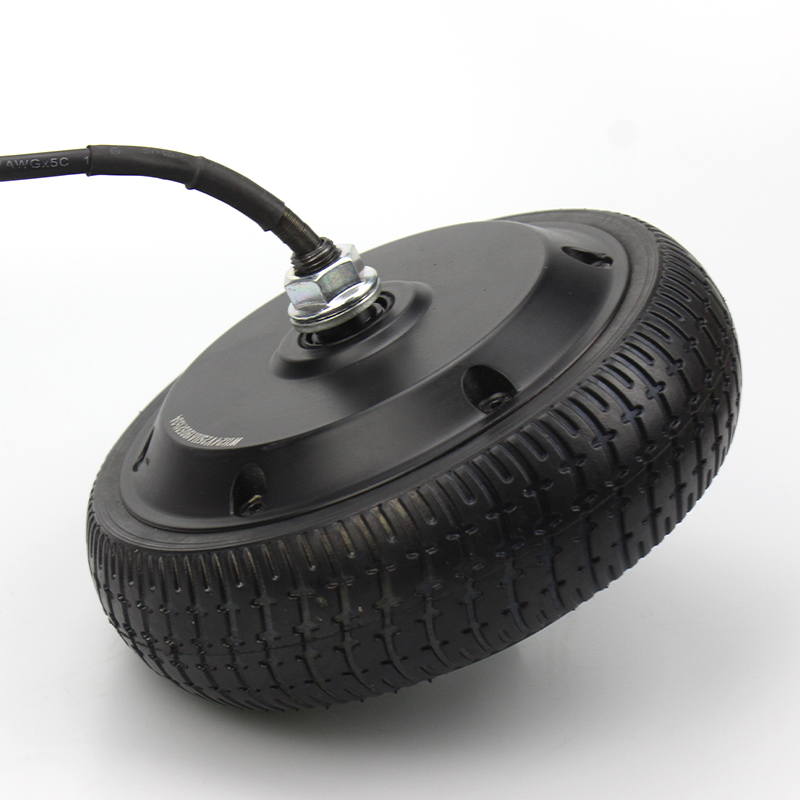
At the core lies a 76mm open-segment cylinder that easily wraps around various chassis mounts. The dual threads on either side of the shaft allow symmetrical tightening, evenly distributing clamping force and minimizing vibration. This prevents the common loosening issues found in traditional single-threaded installations. Together, these elements create a harmonious balance of speed and stability that is a game changer in motor attachment.
For users familiar with mechanical assemblies, this design reduces torque imbalances and leverages the threaded axis pitch—typically 1.5mm—to provide precision control during installation. This ensures the motor remains securely fixed even on uneven terrain or in high-vibration environments characteristic of electric camping vehicles.
Step-by-Step Quick Installation Procedure
The entire setup can be completed in approximately 5 minutes via the following essential steps:
- Pre-Installation Check: Confirm chassis compatibility by measuring the mounting bracket width, ensuring a fit within the 76mm open segment tolerance ±2mm.
- Align the Motor Assembly: Position the motor so the open-segment embraces the chassis mount seamlessly.
- Tighten the Double-Sided Thread: Using a standard wrench, simultaneously rotate clockwise on both ends to create uniform clamping pressure.
- Verify Fixation: Shake test the assembly gently to confirm no movement or looseness.
- Safety Inspection: Check clearances around wiring and moving parts to avoid interference during operation.
Compatibility Tips for Various Camping Vehicle Chassis
Due to diversities in chassis design across camping vehicles, a few adaptations may be necessary:
- Space Constraints: For narrow or irregularly shaped mounting points, consider spacer kits or mild bracket modifications to accommodate the open-segment clamp.
- Material Considerations: Aluminum or composite mounts may require softer washers for additional grip and protection during tightening.
- Electrical Integration: Ensure motor cabling paths avoid sharp bends or proximity to heat sources common in some chassis designs.
Combining the above recommendations ensures universal adaptability and maximizes user confidence in the motor’s performance post-installation.
Avoiding Common Installation Pitfalls
Installation confidence grows when common missteps are highlighted and mitigated:
- Avoid uneven tightening: Gradually alternate tightening both sides of the threaded shaft to prevent skewed mounts.
- Never neglect safety checks: Loose wiring or overlooked clearances can cause operational hazards or motor damage.
- Stay within torque specs: Over-tightening risks stripping threads or damaging chassis components; a torque wrench set between 15-25 Nm is recommended.
Engage and Get Support
Users are encouraged to share installation experiences and ask questions in the dedicated comment section. This dynamic feedback loop not only assists peer-to-peer problem solving but also guides continual enhancement of the motor and installation guides. Our expert support team actively monitors discussions, ensuring timely advice and troubleshooting support.

.png?x-oss-process=image/resize,h_800,m_lfit/format,webp)


.png?x-oss-process=image/resize,m_fill,h_800,w_800/format,webp)