


1) Fully tightening one bolt first
Symptom: motor sits slightly tilted; vibration grows with RPM.
Fix: loosen all bolts to hand-tight, re-seat the base, then torque in a cross pattern in 2–3 passes.

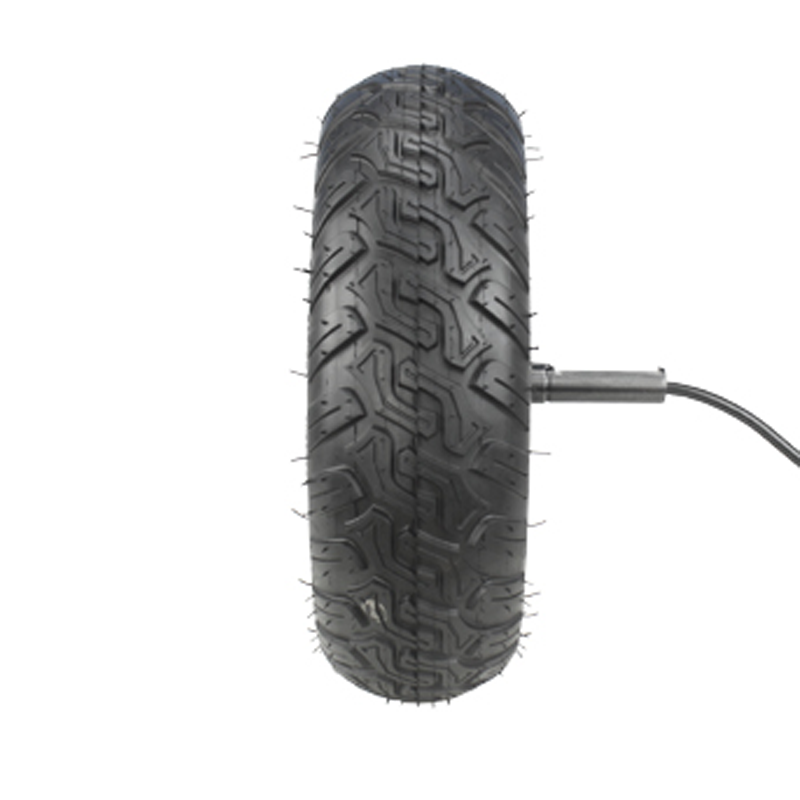
If your mower motor is “almost right” after installation, you’ll usually pay for it with vibration, belt/shaft wear, uneven cutting, or that annoying start-up rattle. This guide shows you exactly how to install an 8-inch / 200mm diameter mower motor the correct way—especially for a single-side press-shaft and cyclone-style design—so you can get a stable run, cleaner airflow, and longer service life.
Say goodbye to strange noises—make your mower run solid as a rock. Install it once, benefit for years.
Most “installation problems” are actually pre-check problems. Spend 10 minutes here and you’ll avoid 80% of rework later.
Engineer’s reminder: If you need force to “make it fit,” stop. A press-shaft design depends on alignment—forcing parts often creates micro-bends that show up later as vibration and bearing noise.

Remove packed grass and oxidation from the mounting plane. Even a 0.3–0.5mm uneven surface can translate into noticeable wobble at operating speed. Use a marker to draw a small alignment line on the deck and motor bracket—this makes future inspections faster.
Interactive check: Please check here for flat contact. Can you slide a thin paper strip under any corner of the motor base? If yes, correct the surface before continuing.
Cyclone-style motor housings are designed to guide airflow so the motor cools efficiently and helps move grass dust away from sensitive areas. Ensure the intake/exhaust path isn’t blocked by a cable bundle, guard, or deck rib. As a rule of thumb, keep at least 15–20mm free space around primary airflow openings.
Start every bolt by hand to prevent cross-threading. Then snug them in a cross (star) pattern so the motor base sits down evenly. Do not fully torque any single bolt yet—this is where many DIY installs “lock in” misalignment.
For a single-side press-shaft structure, concentric installation is everything. The goal is to prevent the shaft from carrying side loads it wasn’t designed for. If you can, check runout at the blade plane; a practical target is ≤ 0.2–0.3mm for smooth operation on typical 200mm setups.
Interactive check: Please check this fastener is truly seated. After you tighten the hub nut/bolt to spec, try to rock the blade hub by hand (power disconnected). Any perceptible play means you must re-seat and re-check.
Apply medium-strength threadlocker on mounting bolts if your mower sees frequent impacts or runs on uneven ground. Torque in a cross pattern. Typical mower motor mount bolts often land around 10–22 N·m depending on bolt size and deck material—always follow your motor and deck specification first.
Engineer’s reminder: Tightening “one side to the max” first is a classic cause of tilted mounting. A tilted base increases bearing load and can raise operating temperature by 5–12°C in warm seasons.

With a single-side press-shaft design, your system is less forgiving of eccentric mounting, blade imbalance, or improper fastening. The motor may still “run,” but you’ll see symptoms faster: buzzing on the handle, deck resonance, loosened bolts, or premature bearing noise.
| Item | Recommended reference | What you’ll notice if it’s off |
|---|---|---|
| Blade/hub runout | ≤ 0.2–0.3mm | Vibration, uneven cut, noise |
| Mounting bolt torque | 10–22 N·m (per spec) | Rattle, loosening, deck wear |
| Airflow clearance | 15–20mm around vents | Hot motor, reduced efficiency |
| Re-torque interval | After first 30–60 min of use | Bolts “settle,” noise returns |
A cyclone-style layout helps keep airflow moving, which supports heat dissipation and reduces grass dust build-up around critical zones. But it only works if you avoid two things: blocked passages and grass stringers wrapping around the shaft area.
Symptom: motor sits slightly tilted; vibration grows with RPM.
Fix: loosen all bolts to hand-tight, re-seat the base, then torque in a cross pattern in 2–3 passes.
Symptom: visible wobble at the blade edge; uneven cut; “thumping” sound.
Fix: remove hub, clean mating surfaces, re-seat without force, verify runout (target ≤ 0.2–0.3mm).
Symptom: “it was fine yesterday” looseness, new rattles, bolt heads showing movement marks.
Fix: apply medium threadlocker on vibration points and re-torque after the first 30–60 minutes of mowing.
Symptom: hotter housing, power drop in thick grass, thermal cutback on some systems.
Fix: re-route cables, add clips, restore 15–20mm airflow clearance. Keep grass bags/guards from collapsing into vents.
Symptom: persistent vibration even after re-install; fastener loosening repeats.
Fix: replace or balance the blade. On many mowers, a small edge chip can create a noticeable imbalance at speed.
Interactive check: Please check this area is secure. Put a paint mark across each critical bolt head and the bracket. If the marks drift after use, you’ve got movement—re-torque and inspect seating.
Engineer’s reminder: A good installation doesn’t just feel smooth on day one. The real win is when it’s still smooth after a month of cutting in dusty, wet, and uneven conditions.
Many 200mm mower motors are brushless and gearless. That’s great for efficiency and fewer wear parts—but it also means vibration and heat are less “forgiving.” Keep these points in mind:
If you’re matching a 200mm diameter mower motor to your deck, hub, and single-side press-shaft layout, the fastest way to avoid rework is to confirm the mounting pattern, shaft tolerance, and airflow clearance before you buy or retrofit. WWTrade supports practical, field-ready motor selection and installation guidance.
Keywords naturally covered: 8-inch lawn mower motor installation tutorial, correct mower motor installation method, single-side press-shaft motor installation tips, cyclone-style anti-wrapping design, lawn mower motor maintenance guide, 200mm diameter mower motor compatibility, brushless gearless motor installation considerations.


