
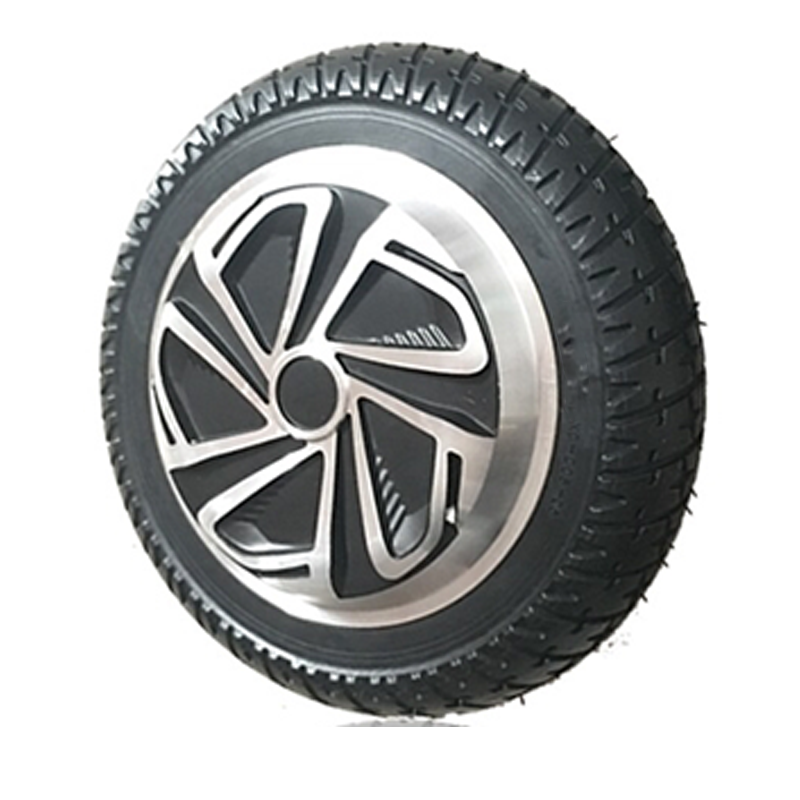
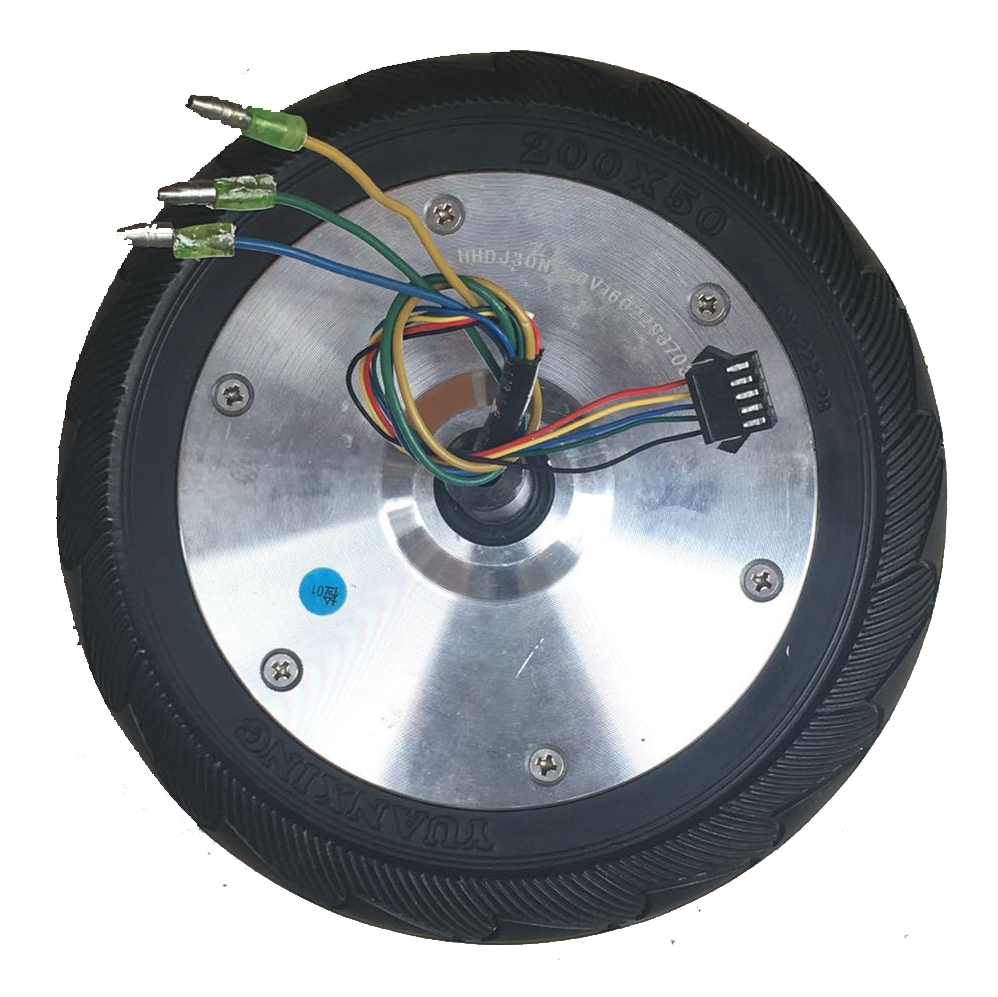
For 8-inch mower motors built for a 200 mm wheel diameter and 45 mm tire width, installation quality matters as much as motor quality. A single-side press-shaft (single-side clamping) structure—especially the “cyclone-style” airflow design—can run exceptionally smooth, but only when the mounting face, fasteners, and shaft alignment are handled correctly.
This practical guide (from a service-engineering viewpoint) shows how to fix the motor firmly, prevent grass clippings from wrapping the shaft, and keep cutting performance stable through the season.
In field repairs, “new motor but still noisy” typically points to mounting instability or shaft-side load, not internal bearings. Single-side press-shaft designs concentrate clamping force on one side, so any small error becomes amplified at the blade end.
Service engineer note: “If vibration shows up immediately after installation, 8 out of 10 cases are clamping/seat issues. Bearings usually fail gradually—noise rises over weeks, not minutes.”
Before installing an 8-inch mower motor (200 mm / 45 mm tire spec), confirm the structure is ready to clamp evenly. Most “mysterious” vibration comes from a surface or fastener issue that is invisible once everything is assembled.
| Item | How to check | Pass criteria (practical) |
|---|---|---|
| Mounting surface | Straightedge + visual inspection | No burrs; no paint “lumps”; bracket not bent |
| Bolt length | Thread in by hand (no motor) | Bolt does not bottom out; at least 4–6 full threads engaged |
| Washer stack | Confirm flat + spring washer or threadlocker | Washer fully covers slot/oval holes; no “dish” deformation |
| Hub / press-fit seat | Clean + test-fit | Seating face contacts evenly; no wobble before tightening |
| Cyclone airflow path | Visual check for guards & clearance | Intake/exhaust not blocked; debris shield correctly positioned |
For brands like WWTrade, the cyclone-style layout is designed to move clippings and heat away efficiently—but it relies on correct clearances. If a guard is flipped or shifted, turbulence increases and “whooshing” noise can be mistaken for mechanical vibration.
The goal is simple: full-face contact + even clamping + correct seating. The following sequence reduces the risk of “tight but still loose” assemblies (where one bolt clamps early and the rest never truly clamp).

On 8-inch walk-behind and compact mower systems, grass wrap is a quiet performance killer. It adds eccentric load to the shaft, raises temperature, and can gradually loosen fasteners. Cyclone-style designs help move clippings away, but the area around the shaft still needs basic prevention.
Wrap-related vibration often appears after mowing starts (not immediately), then worsens in thick patches. A bearing issue is usually consistent across grass density. If vibration spikes only in heavy grass, stop and check for a ring of clippings around the hub/shaft.
A practical schedule prevents 80% of “sudden” issues. For an 8-inch mower motor used weekly in an average residential environment, the following cadence is a reliable baseline.
| Interval | What to do | What it prevents |
|---|---|---|
| Every use | Remove packed clippings; quick visual check of hub area | Wrap load, airflow blockage, heat rise |
| Every 10–15 hours | Re-check mounting bolt torque; inspect washers/locks | Progressive loosening, bracket movement |
| Monthly (peak season) | Inspect shaft seat; verify hub flush contact; check blade balance | Cyclic vibration, abnormal noise under load |
| Season end | Deep clean, rust prevention on mounting faces, store dry | Corrosion-driven misalignment next season |
Field habit worth copying: “After the first job with a new motor installation, technicians re-torque once. That one step catches settling and keeps the single-side clamp stable long-term.”
A well-executed cyclone-style mower motor layout helps manage two persistent enemies of small mowers: heat and debris recirculation. In practical terms, better airflow can reduce heat accumulation during continuous cutting, and cleaner flow paths reduce the chance of clippings staying near the shaft area—both supporting smoother operation and longer service life. The reliability benefits show up most clearly when the motor is mounted flat, clamped evenly, and kept clear of wrap.
WWTrade supports B2B buyers and maintenance teams with stable, field-proven mower motor configurations and installation guidance for single-side press-shaft structures—so your equipment runs smoother, quieter, and longer.
Get the WWTrade 8-inch lawn mower motor installation spec & fitment support


